The Users window lets you create new Users on your account, edit existing User Accounts, reset passwords, export a list of users, impersonate users, and delete users.
Access the Users window by clicking Admin > Users.
Note: You must have Admin or Restricted Admin clearance to access this section.

To add a new User to your Temeda account, click on the Add User button at the top right of the Users Window.There are three user configuration sections:
- User information
- User Security Profile
- User preferences
User Information

- First Name, Last Name, and Email/User are required information. All other text fields in this section are optional.
- Access Code: This code is required when Users log into the Temeda mobile app for the first time.
Security Profile
This section controls a User’s access to assets, Hierarchy Accounts, Admin controls, their password, and the expiration date for User access.
A User can be limited to certain assets, depending on:
- Their role type
- The accounts selected in the Hierarchy tree
- The Groups that the Non-Admin is assigned to
- The Projects that the Non-Admin is assigned to
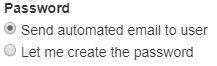
User Password
When creating the User account, you can select between sending the User an automated Email to create their password, or manually setting the password yourself.
Account Hierarchy

Check the box to the left of the Hierarchy Accounts in which the User needs access.
- Restricted Admins and Admins have access to view all assets in the hierarchy accounts they’re assigned to.
- Non-Admins must also be assigned to Groups or Projects view assets. After selecting the appropriate hierarchy accounts, select the proper Groups and Projects. Ensure the appropriate Assets are also assigned to Groups and Projects.
Learn more about Account Hierarchy here.
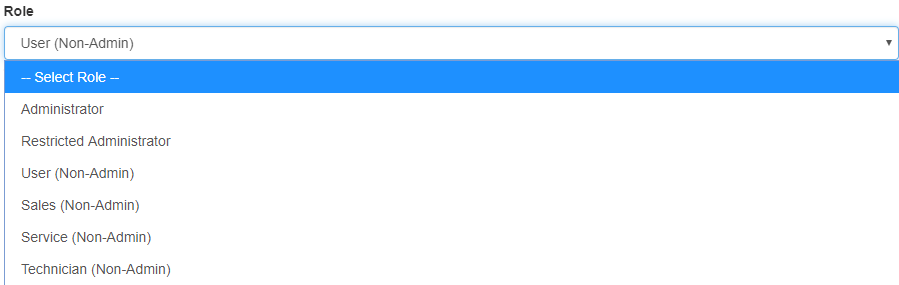
Roles
Each User must be set to a Role, which determines their level of access to the organization. There are three levels of roles: Administrator, Restricted Admin, and Non-Admin.
Administrator
An Administrator has Read/Add/Edit/Delete capabilities for all system entities across his/her entire organization on the Map, Accordion, Alerts, Maintenance, and Reports. System entities include Account Hierarchy, Account Notifications, Assets, Cameras, Drivers, Groups, Locations, Projects, Sensors, Unassigned Devices, and Zones.
Administrators may also create all other role types, including another Administrator. This is the full functionality role.
Restricted Admin
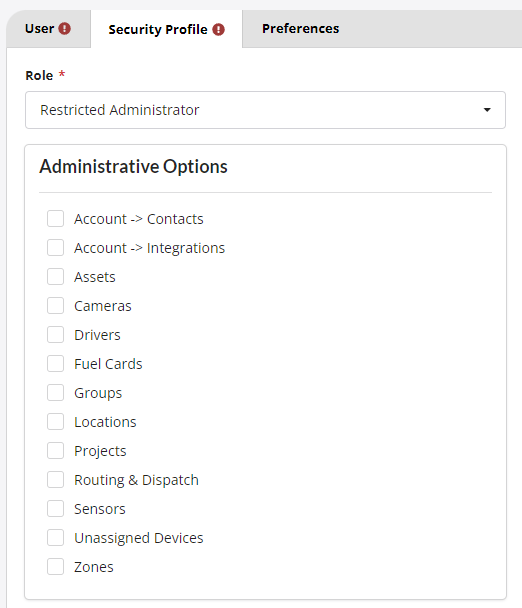
A Restricted Admin has visibility to all Assets in his/her organization on the Map, Accordion, Alerts, Maintenance, and Reports. Restricted Admins can be configured with Add/Edit/Delete capabilities for all system entities. System entities include Account Hierarchy, Account Notifications, Assets, Cameras, Drivers, Groups, Locations, Projects, Sensors, Unassigned Devices, and Zones.
For example, an Admin can create a Restricted Admin that can only Add/Edit/Delete Account Notifications and Groups. This User cannot Add/Edit/Delete other entities such as Assets, Drivers, etc.
Non-Admin Roles: User, Sales, Service, Technician
A User has Read rights to all Assets assigned to the same Groups or Projects.
This role may also create alerts, maintenance logs, and scheduled reports. This role may not create new users or assign Assets.
| Administrator | Restricted Admin | Non-Admin | |
|---|---|---|---|
| View assets | Yes | Yes | Only Assets assigned to their Groups/Projects |
| Create alerts, maintenance logs, and scheduled reports | Yes | Yes | Yes |
| Assign Assets | Yes | Yes, but can be restricted by Admin | No |
| Create other users | Yes, including other Admins | Yes, but only up to Role-level: Restricted User | No |
| Edit Assets and System Entities | Yes | Yes, but can be restricted by Admin | No |
User Preferences
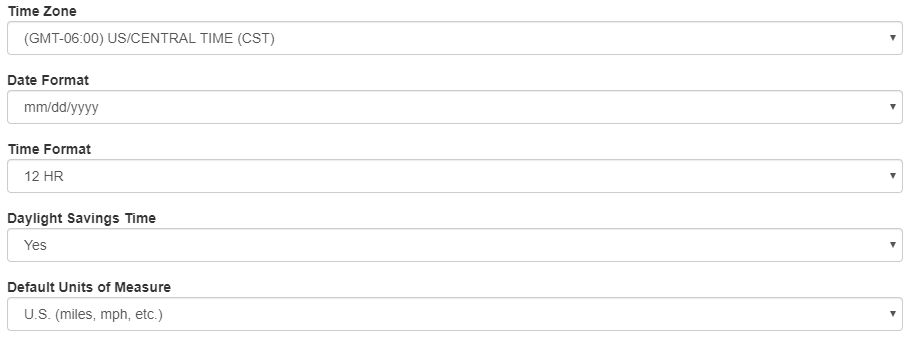
Users can modify User Preference settings, including:
- Time Zone
- Date Format
- Time Format
- Daylight Savings
- Units of measure.
Editing an Existing User
- From the Users window, click either the Users Last Name or click on the Pencil icon on the right of their row.

- When you’ve made your changes, click on the Save button in the bottom corner of the User Detail window.
Resetting a User’s Password
- From the Users window, click on the envelope icon.

- Instructions to reset the User’s password will be sent to the User’s email.
Delete a User
- Click on the X icon in the Users window at the far right.

- Confirm that you want to remove the User.
- The User will then be permanently deleted from the system.
Impersonate a User
- Click on the Person icon in the Users window at the far right.

- This allows you to see everything that the User can see.
Exporting Users
You can export Users as comma-separated-values by clicking the Export Data button on the Users window.